
So you’ve built an awesome website and now you want the world to see it. One way to boost your visibility is by submitting your site to Bing. Yes, Bing! It’s not just a sound a bell makes—it’s a search engine that can help people find your site.
2026 Update: Bing Webmaster Tools updates its interface regularly. Some screenshots in this guide may look slightly different from what you see today, but the core steps and process remain the same.
Why Submit to Bing?
Submitting your site to the world’s #2 engine should be part of a broader SEO strategy that includes content optimization, indexing, and improving your overall search visibility across multiple search engines. Initial setup only takes a few minutes. Verification is usually instant for meta tag and XML methods, while CNAME verification may take up to 24–48 hours due to DNS propagation. While Bing might not be the first search engine you think of, it’s still a major player in the search engine landscape. Google has long dominated, but Bing has been making notable strides in recent years. Submitting your site to Bing can enhance your online visibility and reach a broader audience, as it allows you to tap into Bing’s unique user base and search algorithms, which complement your presence on Google.
The following is a clear walkthrough in Bing Webmaster Tools—plus the steps needed to verify your domain:

Step 1: Create a Bing Webmaster Tools Account
First things first, you’ll need a Bing Webmaster Tools account. If you have a Microsoft account, you’re already halfway there!
- Go to Bing Webmaster Tools.
- Click on “Sign In” and log in with your Microsoft account. If you don’t have one, click on “Sign Up” to create an account.
Note: Bing’s dashboard layout may vary slightly depending on recent updates or your account settings.
Step 2: Add Your Website
Now that you’re in, it’s time to add your website.
- Click on the “Add a Site” button.
- Enter your website’s URL in the provided field. Be sure to enter the full URL, including the
http://orhttps://.
Step 3: Verify Your Website
To prove you actually own the website, Bing needs you to verify it.
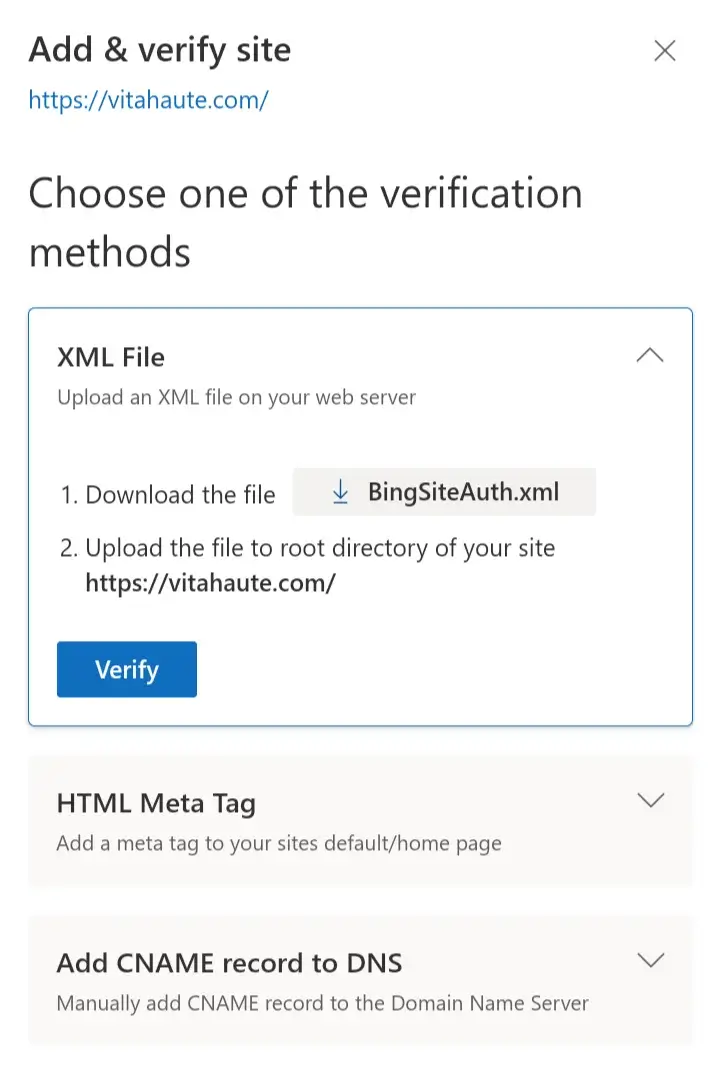
- Choose a verification method. Bing offers several options:
- XML file verification: Download the BingSiteAuth.xml file and upload it to your website’s root directory.
- Meta tag verification: Add a meta tag provided by Bing to the
<head>section of your website’s homepage. - CNAME record: Add a CNAME record to your DNS configuration.
- After implementing the verification method, click on “Verify” in Bing Webmaster Tools.
Adding the meta tag to the header may be the easiest option for beginners. First, download a plugin such as WPCode (a code snippets manager), Rank Math, or All in One SEO that allows you to add code to the head section of your website. Then open the plugin and locate the section labeled “Insert Code”. Paste the code you copied from Bing Webmaster Tools into the box, and click OK.
Once you’ve added the code and clicked OK, Bing will scan your site and verify it. Verification is usually completed within minutes for meta tag and XML methods, while DNS-based verification can sometimes take longer.
If you enjoyed this, you might also like…
➤ 26 AI Tools for Creators, Bloggers, and EntrepreneursStep 4: Submit Your Sitemap
A sitemap helps search engines understand the structure of your website. Submitting it to Bing ensures that all your pages are indexed.
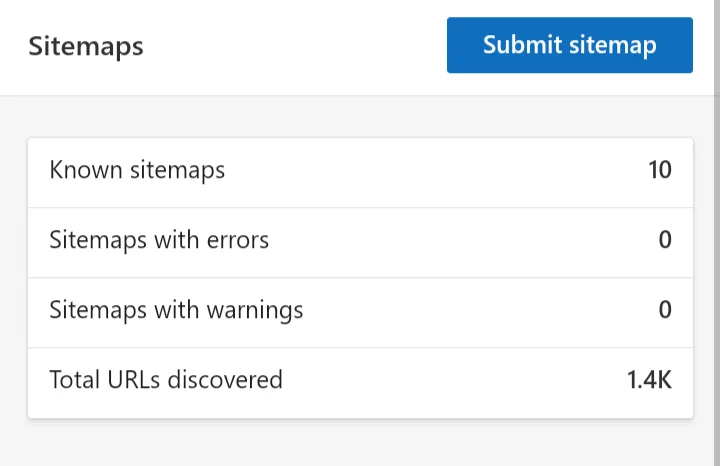
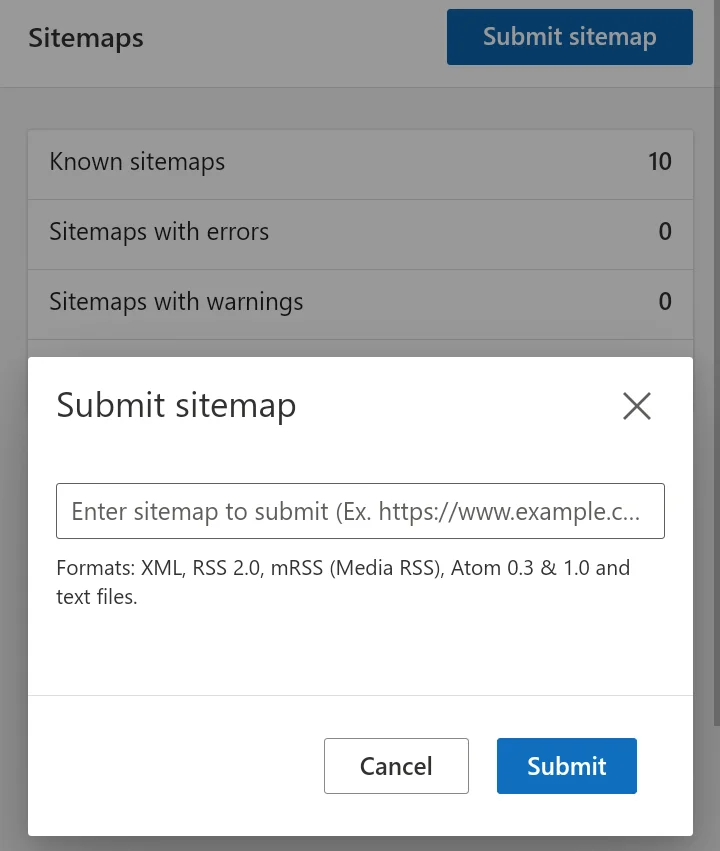
- In Bing Webmaster Tools, go to the “Sitemaps” section.
- Click on “Submit a Sitemap” and enter the URL of your sitemap (in format https://yourwebsite.com/sitemap.xml).
Step 5: Enable IndexNow for Faster Bing Updates
After submitting your sitemap, you can take another step to help Bing discover your new and updated content faster: IndexNow.
IndexNow is an open protocol that allows websites to notify search engines when a page has been created, updated, or removed. Instead of waiting for search engines to discover changes during their normal crawling process, IndexNow sends a direct notification that a URL has changed.
This can be especially useful for:
- New blog posts
- Updated articles
- Product pages
- Deleted pages
- Content that has changed significantly
How Does IndexNow Work?
When you publish or update a page, your website sends a notification through IndexNow containing the URL that changed. Participating search engines can then discover and crawl the updated page more efficiently.
IndexNow does not guarantee indexing or higher rankings, but it can help search engines discover important changes faster.
How to Enable IndexNow on WordPress
Many WordPress SEO plugins make IndexNow simple to activate.
Option 1: Using Rank Math
- Log in to your WordPress dashboard.
- Go to Rank Math → Dashboard.
- Enable the Instant Indexing module.
- Configure the IndexNow settings.
- Save your changes.
Option 2: Using All in One SEO
- Open All in One SEO → Feature Manager.
- Enable the IndexNow feature.
- Complete the setup instructions.
Option 3: Using Bing Webmaster Tools
- Open Bing Webmaster Tools.
- Access the IndexNow section.
- Follow the instructions to connect your website.
Once activated, your website can automatically notify Bing when important URLs are created, updated, or removed.
Tip: While submitting a sitemap helps Bing understand your website structure, IndexNow provides an additional way to notify Bing about individual URL changes more quickly.
Understanding Bing’s URL Submission Limits
Bing allows up to 10,000 URL submissions per day through its URL Submission feature. However, most websites do not need to submit URLs manually because a sitemap and IndexNow can help Bing discover content automatically.
Common Mistakes to Avoid When Submitting Your Website to Bing
- Not Verifying Your Site Correctly: Skipping the verification process or using incorrect methods can prevent your site from being properly indexed.
- Forgetting to Submit Your Sitemap: A sitemap helps Bing understand the structure of your website.
- Overloading with URLs: Submitting too many URLs at once, especially if they are not valuable or relevant, can negatively impact your site’s indexing.
- Neglecting to Monitor Your Site: After submission, monitor performance in Bing Webmaster Tools.
Summing It Up
Submitting your website to Bing is a straightforward process that can pay off in increased visibility and traffic. With the steps outlined in this post, you’re ensuring your site gets the attention it deserves from one of the major search engines.
Happy indexing!
Quick Summary
- Create a Bing Webmaster Tools account
- Add your website
- Verify ownership
- Submit your sitemap
- Monitor indexing and performance
You can submit your website by using Bing Webmaster Tools. After creating an account, add your website, verify ownership, and submit your XML sitemap so Bing can start crawling your pages.
Bing indexing can take anywhere from a few hours to several days. The speed depends on your website’s structure, sitemap submission, and how often Bing crawls your site.
Common reasons include missing sitemap submission, blocked pages in robots.txt, lack of backlinks, or new pages that have not yet been crawled or indexed.
No, you only need to submit and verify your website once. After that, Bing will continue to crawl your site automatically as long as your sitemap is updated.
Yes, Bing Webmaster Tools is completely free and provides indexing, performance, and SEO insights for your website.
After using Bing Webmaster Tools for Vita Haute, I found that IndexNow is one of the easiest ways to keep Bing aware of new articles and updates. Rather than waiting for a crawler to discover every change, IndexNow allows your site to send Bing a notification when important URLs are published or modified.
IndexNow does not directly improve rankings. It helps search engines discover updated content more efficiently, which may help pages appear in search results sooner.
If you enjoyed this, you might also like…
➤ 26 AI Tools for Creators, Bloggers, and Entrepreneurs